How to Upload Your Website Using cPanel File Manager (Zip Method)
If you have built a website on your computer and are ready to put it live on the internet, uploading the files one by one can take forever.
The fastest and most reliable method is to compress all your website files into a single .zip file, upload that one file, and then unpack it directly on the server. Here is how to do it in just a few minutes.
Step 1: Prepare Your Zip File Correctly
Before you upload anything, you must zip your files the right way.
⚠️ The Most Common Mistake: Do not right-click the main folder holding your website (e.g., the "MySite" folder) and zip that. If you do, your website will load at yourdomain.com/MySite/ instead of just yourdomain.com.
The Correct Way:
- Open the folder on your computer that contains your website.
- Select all the individual files and folders inside (including your
index.htmlfile). - Right-click the selected files and choose Compress (Mac) or Send to > Compressed (zipped) folder (Windows).
- This will create a new
.zipfile containing your site.
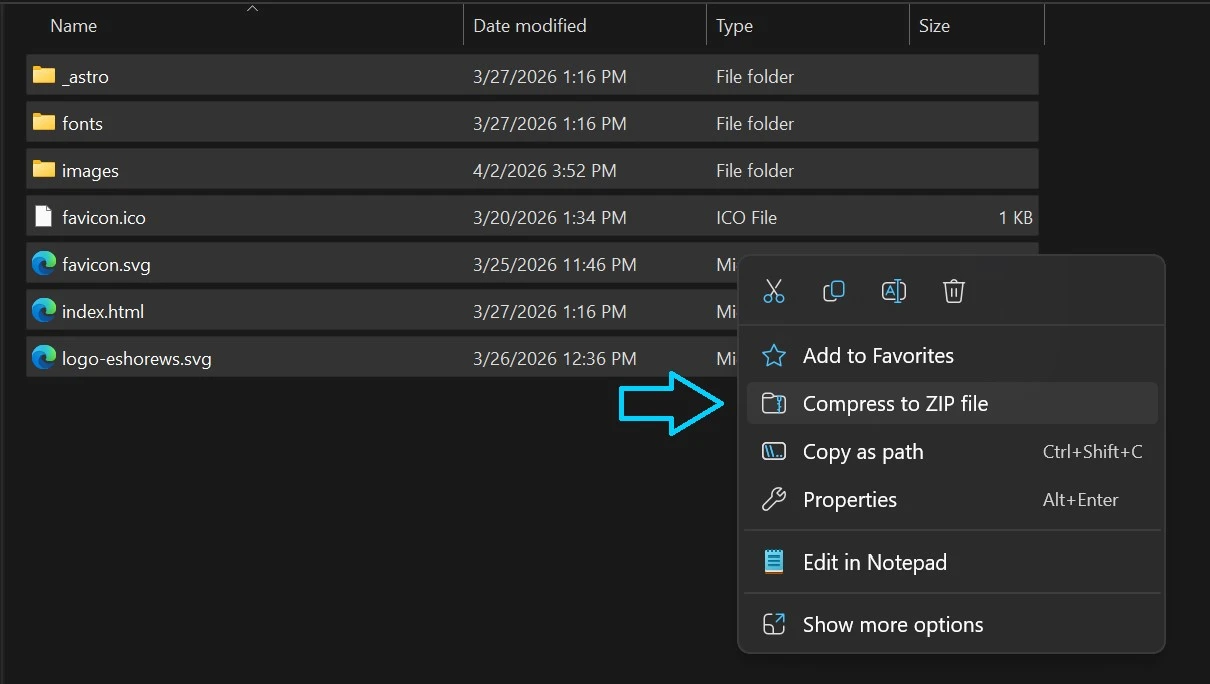 Select all individual files before zipping to ensure they extract into the correct directory.
Step 2: Log into cPanel & Open File Manager
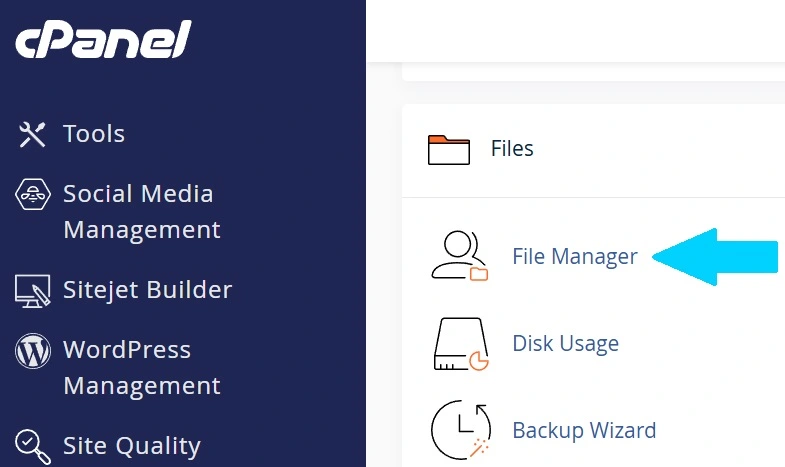
- Log in to your cPanel account.
- Scroll down to the Files section and click on the File Manager icon.
Step 3: Navigate to the Public Folder
File Manager shows you all the files on your hosting account, but the internet can only see files placed in one specific folder.
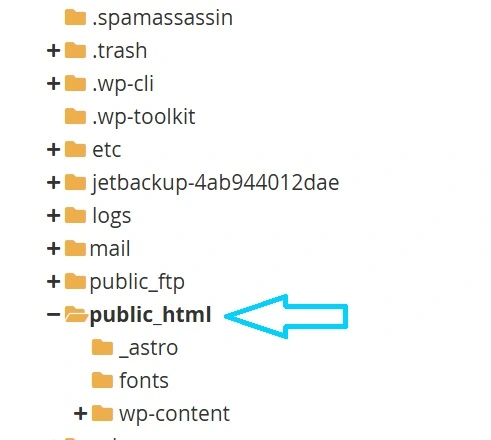
- In the left-hand menu of the File Manager, look for the folder named
public_html. - Click on
public_htmlto open it.
(Note: If you are uploading a site for an Addon Domain or Subdomain, you will look for a folder with that specific domain name instead of public_html).
Step 4: Upload Your Zip File
- With the
public_htmlfolder open, click the Upload button found in the top menu bar. A new tab will open. - Click the Select File button, find the
.zipfile you created on your computer, and open it. - Wait for the progress bar to reach 100% and turn green.
- Click the link at the bottom that says "Go Back to..." to return to the File Manager.

Step 5: Extract (Unzip) Your Website
- You should now see your
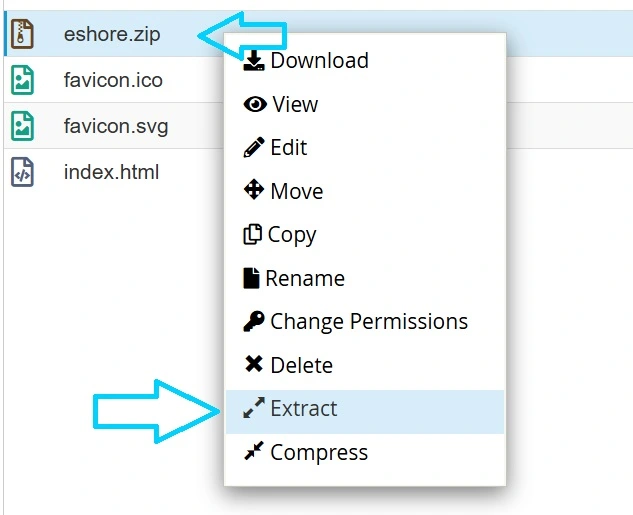
.zipfile sitting inside thepublic_htmlfolder. (If you don't see it, click the Reload button at the top of the screen). - Right-click on your
.zipfile and select Extract from the menu. - A popup box will ask you where you want to extract the files. Leave the default path as
/public_htmland click the Extract File(s) button. - An "Extraction Results" window will pop up showing a list of all your files. Click Close.
Step 6: Test and Clean Up
- Open a new tab in your web browser and type in your domain name. Your website should now be live!
- Go back to the cPanel File Manager. You no longer need the
.zipfile taking up storage space on your server. Right-click the.zipfile, select Delete, and confirm to permanently remove it.
Need Help?
If your website isn't showing up, ensure your main homepage file is named exactly index.html or index.php (all lowercase). The server will not recognize "Index.html" or "home.html".
